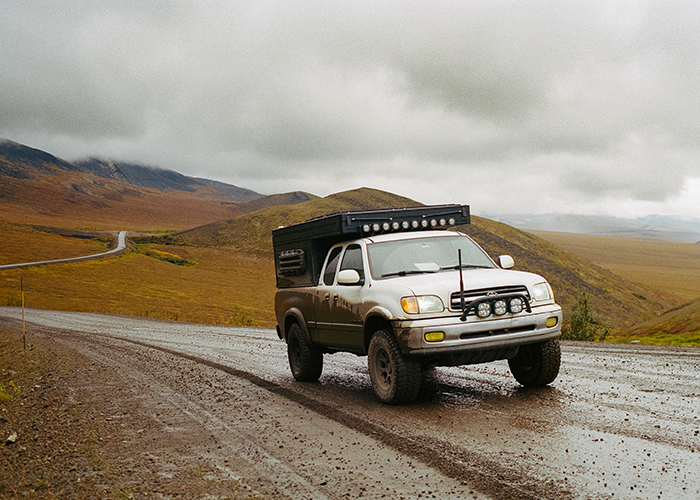
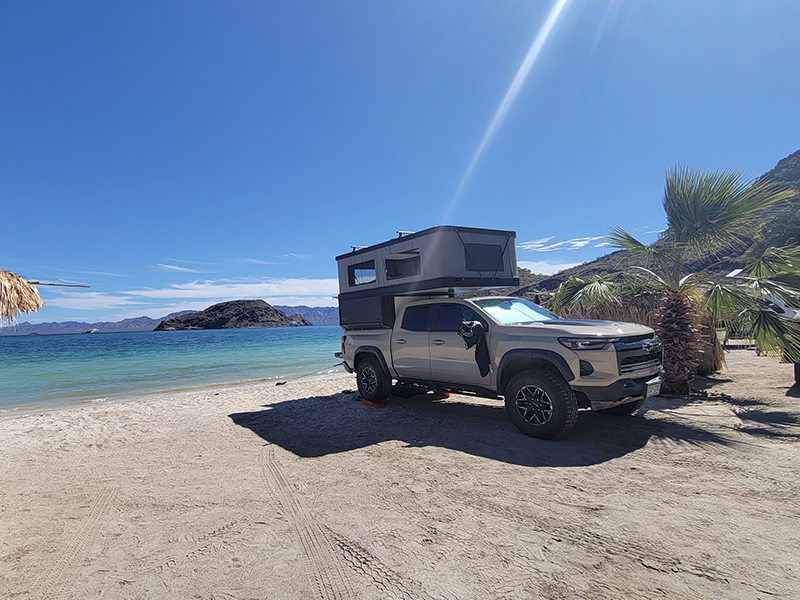
Owning a Tune Outdoor truck camper means having the freedom to take your mobile basecamp anywhere the trail leads you. Your camper is built with rugged and durable materials and engineered to withstand tough overlanding conditions. However, keeping your camper in peak condition will require some consistent upkeep. This regular maintenance preserves the structural integrity and longevity of your camper, as well as ensures that your camper components, such as your electrical, heating, and water systems, continue to function in the long term. This FAQ guide breaks down the essential maintenance tasks every Tune camper owner should know to keep their truck camper well-maintained and ready for the next adventure.
General Tune Camper Maintenance/Safety Checks
How often should I inspect the camper mounting hardware and bed alignment?
Your adventures probably involve rugged trails and washboard roads. Vibrations can loosen hardware over time, so regularly check all accessories mounted to the camper’s T-track system and the mounting brackets securing the camper to your truck bed. Experts here at Tune recommend several checks per year, especially after bumpy trips.
Ensure all T-nuts and bolts remain tightened to the manufacturer's specified torque settings. Additionally, verify that the camper remains centered between your bed rails and hasn't shifted north-to-south; it should never sit close enough to the truck cab to make contact with your rear window. For a step-by-step walkthrough on how to tighten the Tune camper mounting hardware, watch this video.
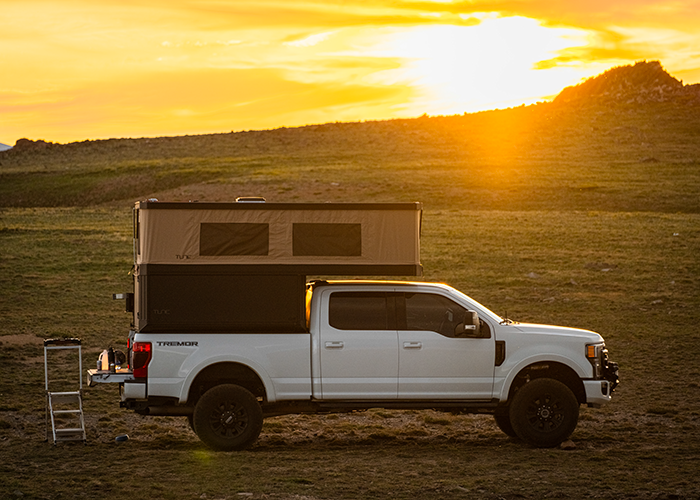
Tune's Canvas Canopy
How do I maintain the waterproofing and seam sealing on my camper fabric?
While the 600D canvas has a highly durable waterproofing, exposure to UV rays, heavy rain, and trail dust will naturally degrade the coating over time. Perform a simple field test once or twice a year by sprinkling water onto the dry canopy. If the water beads up and rolls off smoothly, the factory barrier is working. If the water begins to soak into the fibers and leaves dark, damp patches, it is time to re-treat the fabric.
Before treating the fabric with a fresh waterproofing application, use a soft-bristled brush or low-pressure cold water to sweep away all dirt and dust. Any trapped grit will prevent the coating from bonding properly. Once the canvas is fully dry in the sun, apply a high-quality, fabric-specific waterproofing spray—such as 303 High Tech Fabric Guard—evenly across the material. Never use silicone-based waterproofing sprays on the fabric, as silicone can break down the canvas fibers and compromise the material's integrity over time.
Stitched seams are under tension when the camper is open, making them the most vulnerable entry points for moisture. Pay close attention to the four vertical corners where the soft-wall meets the structural frame. If you notice a seam beginning to weep during a storm, you can spot-treat it in the field using a specialized outdoor gear wax stick or beeswax rubbed directly over the stitching holes. For a permanent, long-lasting repair at home, apply a dedicated canvas seam sealer over the stitch lines. Make sure the product you choose is chemically compatible with the outdoor canvas; generic nylon tent seam sealers will not adhere correctly and can flake off. Always allow the sealer to cure completely for 24 hours before collapsing the roof down.
How do I care for the canopy fabric while opening and closing the camper?
To keep your camper canvas in great shape for many epic camping trips to come, it’s important to follow the proper process. When lowering the roof, always deploy the fabric tensioners (bungee cords) inside the camper to keep the material taut. This prevents the fabric from pinching or bunching in the aluminum profiles as the roof comes down. Additionally, double-check that all internal window covers are closed and zipped up, and move bulky loose items like pillows away from the fan and lifting arms before pulling the roof down.
What should I do if I have to collapse the camper while the canopy fabric is wet?
If you have to break camp during a rainstorm or after a wet night, you can temporarily lower the pop-top with wet fabric to get on the road. However, you must pop the camper back up as soon as you reach drier weather. Leaving the fabric collapsed while damp allows mold and mildew to develop rapidly. Always allow the fabric to air-dry completely in the fully extended position before storing it for an extended period.
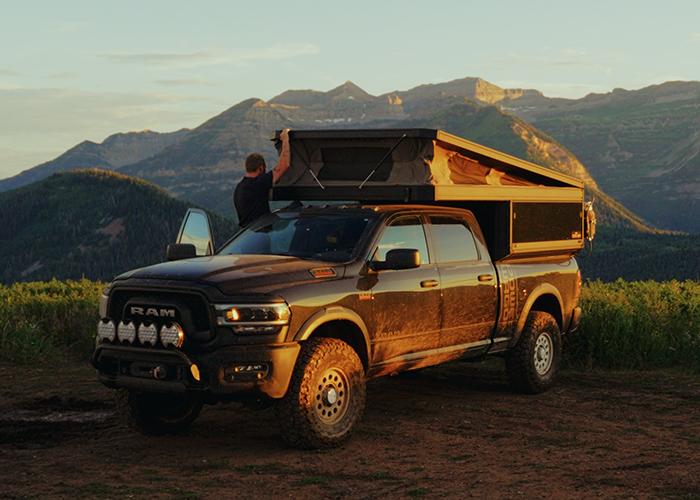
Anodized Metal and T-track
How do I clean the anodized metal without damaging the finish?
Read our full Cleaning Care Guide for detailed instructions on how to care for the anodized metal on your Tune Outdoor truck camper. Here are the basics:
- Clean it at least twice a year—or immediately after rigorous off-road trips that expose it to road grime, salt, or tree sap.
- Mix a pH-neutral cleaner (pH 6–8) like mild dish soap or a dedicated pH-neutral car wash soap with clean water.
- Apply it gently using soft cloths, non-abrasive sponges, or soft-bristled nylon brushes to avoid scratching.
- Rinse thoroughly from top to bottom with moderate water pressure and dry completely.
- Avoid harsh chemical cleaners or high-pressure power washers focused directly on rubber seals and gaskets.
Do I need to check welding points for cracks or structural damage?
The Tune Outdoor truck camper is engineered using highly advanced, precision-anodized aluminum extrusions. The camper body has zero welding. Instead, the components fit together securely using complex internal geometry, screw bosses, and hyper-durable composite corner brackets. Because there are no welds to crack under intense trail stress, your regular inspection should focus simply on checking the physical tightness of the assembly fasteners rather than looking for structural stress fractures
What T-nuts and bolts work best with the Tune T-track?
Always use high-quality, corrosion-resistant drop-in T-nuts or spring-loaded slot nuts matching the track's precise dimensions. Avoid using makeshift hardware or rough-edged steel bolts that can score, burr, or strip the internal aluminum channels. When mounting heavy gear like MOLLE panels or tools, ensure your bolts are the correct length—if a bolt is too long, it will bottom out against the base of the aluminum channel and warp the track rather than clamping your accessory tightly. We recommend using the Tune Torx M8 bolts with our hammer nuts for a perfect fit. To learn more about aluminum extrusion, read our guide.
How do I maintain the T-track to ensure hardware slides smoothly?
If you’re doing it right, your T-tracks are facing the elements on a regular basis. They can naturally collect trail dust, mud, or road salt over time. Check the tracks periodically for debris blocks. To clean them, simply flush the channels with low-pressure water or use a soft nylon brush to sweep out dirt. Never use wet or sticky grease inside the T-track channels; lubricants like heavy oils will attract dirt and gum up your mounting hardware. If an accessory is stubborn or sticky when sliding through the channel, clean the track first using these methods and allow the track to dry before trying again.
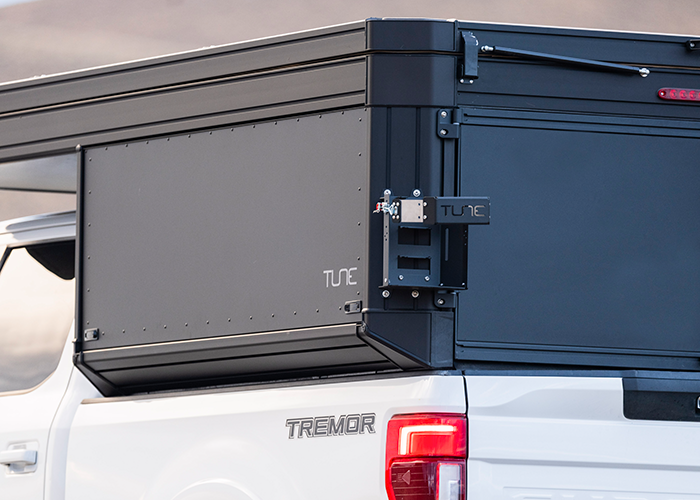
Tune's Gas Struts
What routine maintenance do gas struts require?
The gas struts require very little intervention, but keeping them clean prevents premature seal failure. Periodically wipe down the exposed metal shafts with a clean, dry microfiber cloth to remove trail dust, mud, or grit. Never apply wet greases, oils, or WD-40 to the strut rods. Wet lubricants attract dirt and trail grime, which can tear the internal rubber seals when the strut compresses and cause the gas to leak out.
How do I know if my gas struts are failing and need to be replaced?
Gas struts are pressurized under immense force to make lifting the camper roof feel effortless. Over time, internal seals can slowly degrade. The most common signs that your struts are wearing out include:
- A roof that feels noticeably heavier or harder to lift into the open position.
- The roof sagging or failing to stay fully extended once opened.
- The roof suddenly dropping or struggling to stay up during cold weather, as low temperatures cause the internal gas to contract.
- Visible oil leaks, rust spots, or physical bending along the metal strut shafts.
To learn about how to replace gas struts, read our installation guide.
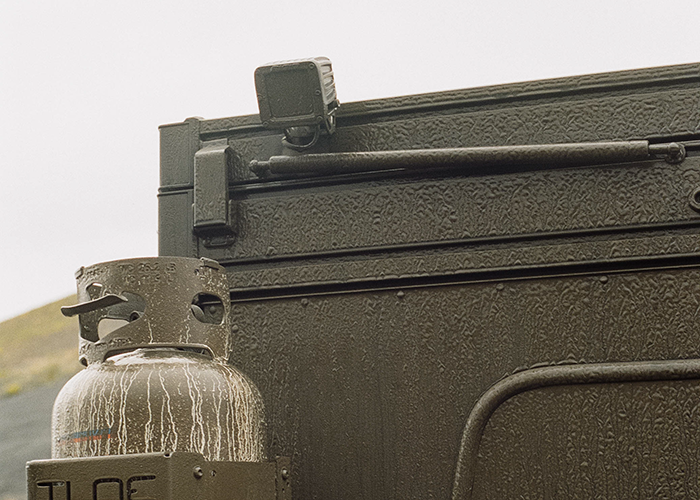
Awning Doors
How do I properly care for the hurricane hinges along the top of the awning doors?
Both the aluminum and glass awning doors are designed using a "hurricane hinge" system along the top of the panels. This offers exceptional strength and weather resistance, but it needs to be cleaned and free of debris to function properly for the long term. Periodically clean the hinge track with low-pressure clean water to flush out accumulated road salt, mud, or dust. Avoid using heavy greases on the hinge, as this will trap abrasive grit in the hinge and grind down the metal over time. If the door begins to squeak or feel stiff when swinging upward, apply a light, dry silicone or Teflon-based spray to the hinge channel after cleaning. Watch this video to learn how to remove and reinstall the awning door.
How do I ensure my awning doors are watertight and secure while driving?
Before leaving camp, make sure to check that all of your awning doors are fully closed and securely latched. Driving with an unsecured side or rear awning door can lead to severe aerodynamic stress or structural damage. To ensure the doors are as secure as possible, our Tune team recommends that you mechanically lock all the exterior awning door latches before hitting the highway or trail. This protects the latch seals and prevents vibrations from rattling things loose over time. If you notice a rattle, your latch might be loose, and this can be easily adjusted by tightening the stop nut on the inside of the latch mechanism.
- Gasket Inspection: Both the Aluminum and Glass doors rely on a compression gasket mounted to the camper frame to keep the elements out. Periodically check these gaskets for cracks or dry rot, and treat them with a UV-protectant wipe to extend their life and prevent leaks
Are there any special maintenance requirements for the glass awning doors?
While Tune's glass panels are incredibly resilient—built twice as thick as standard automotive glass—they still demand a distinct care routine compared to their aluminum counterparts.
- Cleaning: Never use abrasive pads or harsh chemical cleaners on the glass. Use a soft microfiber cloth and a standard ammonia-free glass cleaner. Wipe down the frames carefully to ensure trail grit isn't grinding into the glass borders.
- Impact Awareness: Glass requires more careful navigation on tight, tree-lined overlanding trails to avoid catastrophic impacts.
To compare the aluminum and glass awning door specs, read our Comparison Guide.
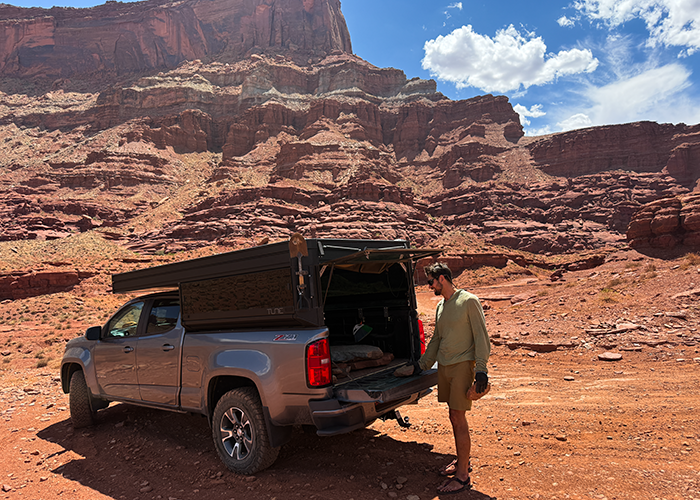
Barn Doors
How to care for the barn door hinges?
Tune barn doors are uniquely designed for high-clearance utility, letting you lift the doors straight off their hinges at a 90-degree angle if you need to use the open truck bed to haul oversized cargo. Because these hinges are exposed to direct trail vibration and dust, check them periodically for accumulated grit. Flush the pivot pins and hinge plates with clean water to clear out dirt. Do not apply thick, sticky grease to the pins. If the doors become stiff to lift off or squeak when opening, clean the pin thoroughly and apply a light coating of dry silicone spray. If you remove the barn doors to inspect and clean the pin, you will notice a small plastic washer; do not lose this washer!
How to maintain the barn door seal?
The barn doors utilize a custom-made top gasket designed to actively seal out weather and divert running rainwater away from your truck bed opening. Because this gasket sits along the doors' primary surface, inspect it twice a year for cracking, flattening, or dry rot. Wipe it down with a UV-protectant rubber wipe to prevent premature degradation from sun exposure, and ensure the driver's side door overlaps the passenger side seamlessly when closing to preserve the weather-tight seal.
What should I inspect and maintain on the barn door locking mechanism?
The barn doors lock using a heavy-duty handle that actuates a mechanical security pin when rotated 90 degrees.
- From the outside: Periodically inspect the lock cylinder for dust intrusion. If the lock cylinder feels sticky, flush it with water, allow it to dry, then apply a dry lubricant.
- From the inside: The system locks using a stainless steel rod secured by a retaining pin to prevent anyone from forcing it open from the outside while you sleep. Periodically verify that the internal locking pin holes remain clear of nearby gear and that the pin drops fully into its lower locked position smoothly.
Check out our quick tutorial video for more information.
Electrical Systems
How should I maintain my solar panels?
Regularly inspect your solar panels for physical damage such as bubbling, surface peeling, or discoloration. Watch for unusual heat buildup or odors coming from the system. Monitor your battery levels regularly via your charge controller, and if you see irregular current coming from the solar panel, it’s time to problem-solve. If you plan to store the camper for an extended period without active power loads, disconnect the solar panels to prevent potential overcharging or deep discharge cycles.
What routine maintenance should I do for the electrical connections?
Bumpy roads and dusty campsites can cause electrical connections to fail. Routine inspections are best for electrical maintenance. At least twice per year, visually inspect the electrical connections and look for the following:
- Corroded or loose connections; feel for heat and be aware of any hot smells coming from the electrical connections
- Check that wiring running through the T-track isn’t getting caught on anything sharp
How should I maintain the interior lighting?
To keep the integrated halo lights operating flawlessly, keep the power connections clean and free of dirt and moisture. When cleaning the inside of the camper bed with water, never spray high-pressure water directly at the electrical wiring channels, switches, or interior T-track.
How should I maintain the roof fan?
Like other electrical components in your Tune Outdoor truck camper, keeping the fan's electrical connections clean and free of moisture will ensure proper functionality. Regularly inspect your fan for dirt, debris, and rust buildup inside the fan and on the fan blade. If you regularly use your fan in salty beach environments, clean the fan blade and mesh cover regularly to prevent damage from salt buildup. If the fan vent cover is open during a sudden downpour, dry the inner surround completely to protect the circuit board.
Propane Heating
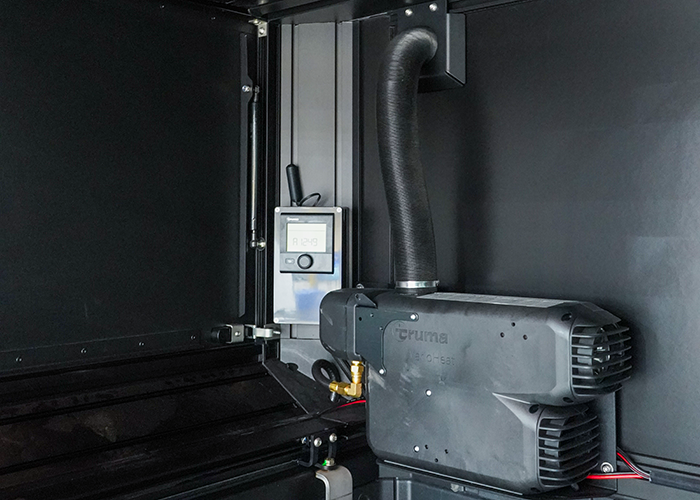
For troubleshooting error codes on the Truma Heater, check out the Truma Owner's Manual. Be sure to fill out the Truma warranty registration in order to be eligible for warranty coverage in the future.
Tune owners looking to build out the interior should note where the intake vent is located and avoid covering it with conversion components.
What routine maintenance does the Truma intake and exhaust ports require?
The Tune Outdoor truck camper features a sleek, all-in-one co-axial exhaust and air intake system that vents directly through the driver-side front bulkhead panel. Because this vent handles both the fresh air intake and hot combustion exhaust, it must remain entirely unobstructed.
- Before every trip: Inspect the vent hole to ensure no mud, nesting insects (like wasps), or road grime are blocking the opening.
- During vehicle washes: Always install the factory-provided Truma cowl/wash cover over the exterior vent. Spraying high-pressure water directly into an uncovered exhaust port can flood the internal heat exchanger and permanently ruin the heater's electronics.
- Check that the LP tank regulator is screwed on tightly and that there are no hard turns in the hose, allowing the fuel to move freely.
- Remember to remove the cover before turning the heater on!
Do the heater interface and temperature sensor require maintenance?
Regularly power on and inspect your Truma heater control panel to ensure the buttons work and it is receiving power from your power source. Test your heater and ensure it is working before you head out on a trip where you anticipate cold weather. Never abruptly cut main power to the camper while the heater is running. The Truma requires a mandatory automatic cool-down cycle to dissipate extreme internal heat. Always turn the heater off via the digital control panel dial first, and wait a few minutes for the fan to stop blowing completely before disconnecting your power source.
For the temperature sensor, the only maintenance required is proper placement: make sure the sensor is clear of heavy blankets, not blocked behind gear bags, and not dangling directly in front of a blowing hot-air vent, which will fool the thermostat into thinking it’s warmer in your camper than it really is and shutting down prematurely.
Tune Accessory Maintenance
What is the proper way to clean and lubricate the camper jack system?
If you use the quick-connect camper jack system to temporarily remove or store your truck camper, clean the hardware at least once a year. Fully extend each jack shaft until you hear the safety ratchet slip clutch engage, and instantly release the power switch to avoid damage. Wipe down the unpainted inner metal jack shaft with a wet rag and a clean degreaser. Once dry, liberally apply a high-quality silicone spray lubricant to the exposed inner shafts. You can also protect the exterior by waxing the painted outer tubes and wiping down the rubber seals with a UV protectant.
Winterization and/or Long-Term Storage
How should I prepare my camper for winter storage or long-term storage?
When preparing for winterization and/or long-term storage, the primary focus should be preventing condensation and managing your power. Remove your auxiliary battery bank or portable power station if it is susceptible to freezing temperatures, and disconnect your solar panel from your charge controller. Make sure the roof fan vent is completely sealed against rainstorms and heavy snow.